¶ Creating Bell Schedules
¶ Bell Schedule Overview
To create a Class Change Bell Schedule in an IP6000 system, you will need to complete a few steps in a particular order to be able to complete your schedule simply.
- Upload / create your audio in Audio Editor
- Create an event to utilize your audio in Event Editor
- Create a bell schedule event list in Schedule Editor
- Apply your Schedules to each day in Calendar
These steps are detailed below. Note that not every option is explained in detail but are typically covered during your initial training session. Please contact Pacificom’s ServiceDesk for additional guidance on advanced or custom configurations.
¶ Audio Editor
¶ For Audio Editor, you can either:
- Upload your own custom audio file
- Create your own recording from the admin console handset
- Utilize the TTS (Text-to-Speech) engine to automatically create your custom audio message
¶ To upload an audio file (i.e. an audio/music file downloaded from the internet):
- Click on Editors / Audio Editor
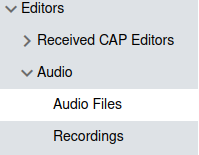
- Click on New Audio File
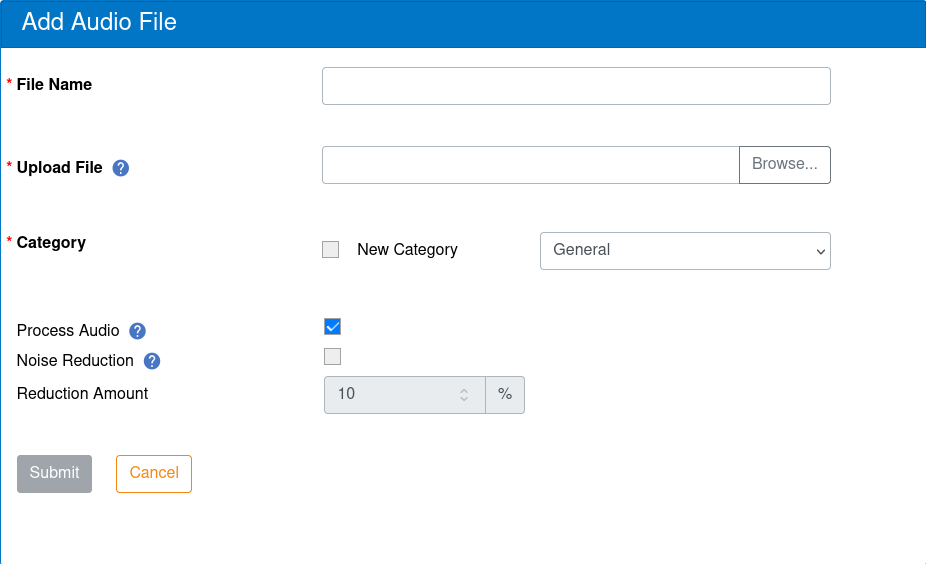
- Enter a file name
- Click “Browse” next to upload file to find the audio file to prepare for uploading into the PA system
- Choose a category for sorting your audio file
- Click “Submit” when done
¶ Event Editor
Most of the events you will create will be Audio File events. Other events are available for advanced/special functionality; check with Pacificom’s ServiceDesk prior to using any other event type to be sure of its application.
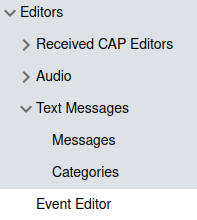
- Open Editors / Event Editor
- Click “Create Event”
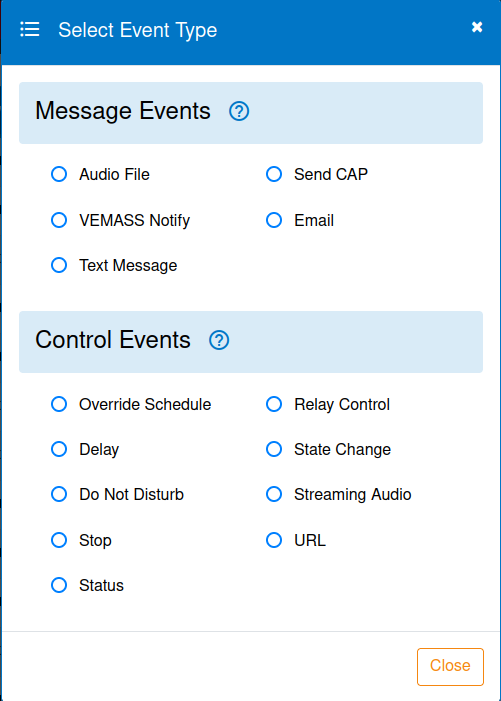
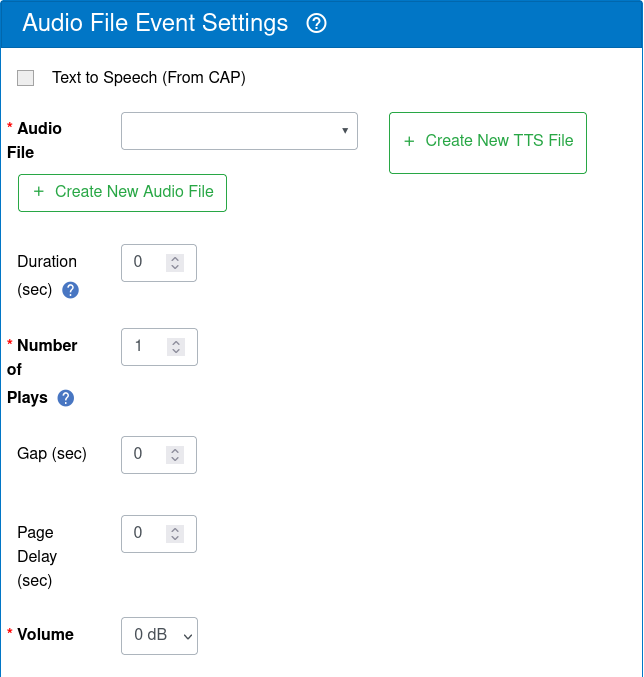
- Click “Audio File”
- Give the Event a unique/descriptive name. We recommend to enable the "Create Playlist" checkbox to save a future step.

- Select the audio file made in the previous step. Configure the number of plays, delays between plays, volume settings, and priority as needed.
- Select which Audio groups this event should be playing to
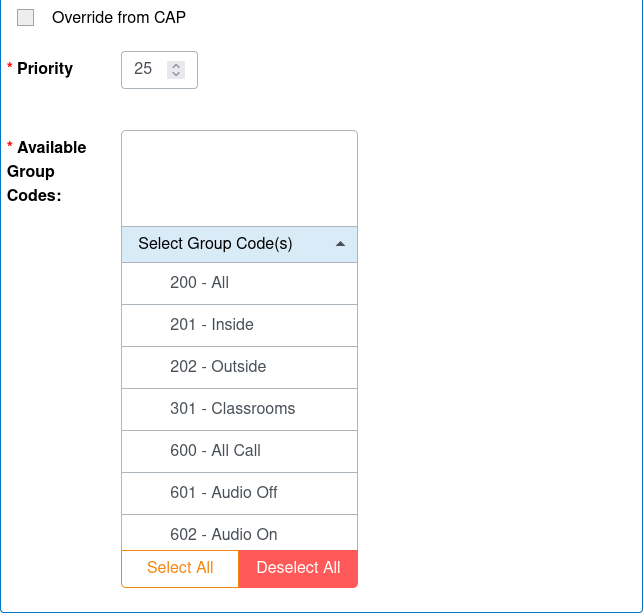
- Click “Submit” when done
¶ Playlist Editor
Playlists provide the ability to execute multiple events sequentially or concurrently. If you had enabled the "Create Playlist" option in the Event Editor step, your playlist will automatically be created.
You can create Parallel Playlists to execute two events simultaneously, such as an Audio Event to play through speakers and a Text Message Event to display on signage.
Playlists are applied to bell schedules and must be created prior to proceeding to the next step.
¶ Schedule Editor
Once you have uploaded your audio files and created events, you can then attach your events to a schedule. An infinite number of schedules can be created. Typically, there should be at least one schedule made.
¶ To Create a Schedule:
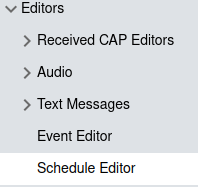
- Click on Editors / Schedule Editor
- Click Create Schedule
- Give the Schedule a name (i.e. “Regular Day”, “Early Dismissal”, etc) then click Submit
- Click Add Event
- On the Add Schedule Event box that appears, choose the Event that you created in the previous step.
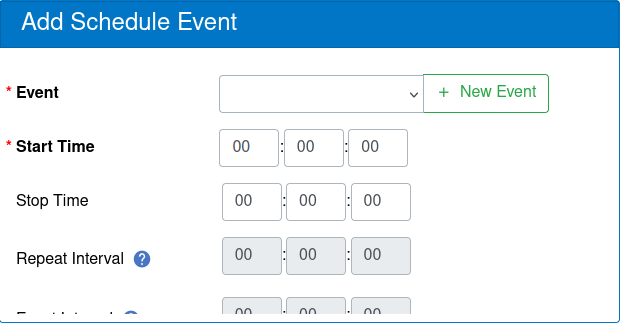
- Enter the start time (24hr mode). First box is hour of the day, second is minutes, seconds.
- Enter a stop time if necessary (i.e. if you want an event to play for a fixed period of time).
- If you entered a stop time, you will be able to enter in a repeat interval.
- If desired, you can chain an additional event to execute after this first / primary event finishes. Select a chained event with the arrow at the bottom right.
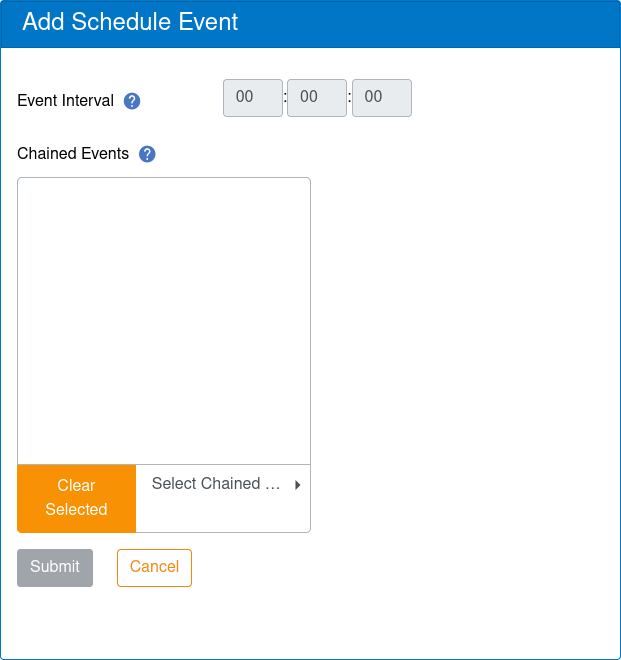
- If you are chaining events one after another, select the event on the right and click the arrow in the centre to move it to the “chained events” list.
- Click “Submit” when done
- Repeat steps above to build your entire day bell schedule.
¶ Calendar
Once you have created a schedule, you can apply to a calendar. Calendars are typically updated annually (i.e. every August for the upcoming school year).
Schedules can be applied to individual days, or to “Regular Weekdays”. “Regular Weekdays” at the right of the calendar page allow you to select all Mondays, or all Tuesdays, etc. to quickly apply schedules to all days throughout the year.
You may also want to override “Regular Weekdays” for special event days (special assembly day schedule or early dismissal schedule), or holidays such as Christmas/Easter/Summer break (no bells/schedules). You will be able to do this using the Date Group option.
¶ To apply a schedule to a “Regular Weekday”:
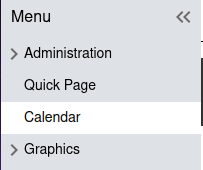
- Select “Calendar” from the menu on the left
- Click on the particular weekday at the right of the screen (recommend to start with Monday)

- In the Assign Schedules that appears in the bottom right of the screen, choose the schedule you want to apply to this weekday by clicking on the down arrow next to Schedules.
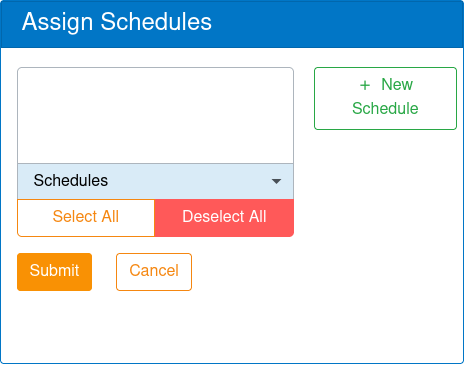
- Click Submit when done.
- Click on the next weekday and repeat steps 2, 3 and 4 above until all days are done. Typically, no schedules are applied to Sat/Sun.
¶ To create a custom group of special schedule days (or days without any schedules):
- Select “Calendar” from the menu on the left
- Click Add Date Group at the top
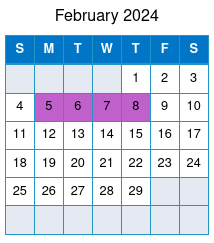
- In the Add Date Group window that appears on the bottom right, provide a unique name for this Date Group. You can also choose the colour of the dates that will be associated with this group.

- Click each day on the calendar that will belong to this Date Group. Each day will show up with the same colour you chose in the previous step.
- Click Submit when done.
- Select the Date Group you just created that is listed in the Date Groups box.

- On the Assign Schedules box that appears on the bottom right, select a schedule to be applied to this date group, same process as described previously in the Regular Weekdays.
¶ To add/remove dates from a date group:
- Double-click the date group you want to edit in the Date Groups box.
- Click on the calendar days you want to add or remove.
- Click Submit when done.