¶ Support
For the help menu and best support access the advanced configuration help topic by clicking About / Help on the top menu.

Download ICT Protege GX/WX pdf here: Protoge Troubleshooting Guide PDF
Download ICT Protege GX Operator Programming/Reference manual pdf here: Protoge GX Programming Reference Manual PDF
Download ICT Protege WX Programming pdf here: Protoge WX Programming Reference Manual PDF
¶ Client Downloads
ICT Protege GX Client is pre-installed on the workstation provided to you by Pacificom.
The client can be installed on additional workstations, however the client software must be the same version as the server software. Contact Pacificom to get the correct client software version for your server.
Note: depending on your site setup, you may require additional license(s) to run multiple clients concurrently. Check with Pacificom on your site setup.
¶ Login
To log into ICT Protege GX, double-click on the Protege GX Client icon on your desktop.

You will be presented with a login screen, enter the credentials provided to you in Pacificom's Quick Reference Guide.
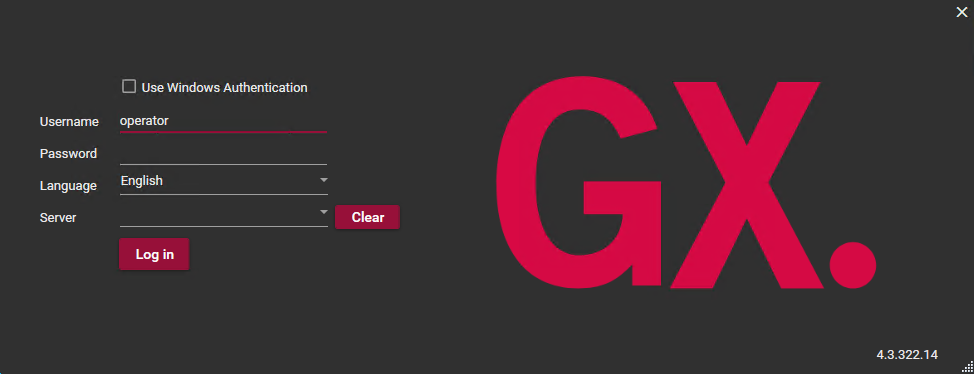
Your Login username is typically "operator", all lowercase characters.
¶ Access Levels
Prior to creating/managing users, you will want to confirm you have your Access Levels configured. Each user will need to be assigned an Access Level to be granted permissions to move throughout your building.
-
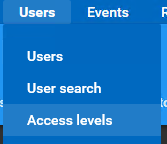
Click on Users then Access Levels on the top menu.
-
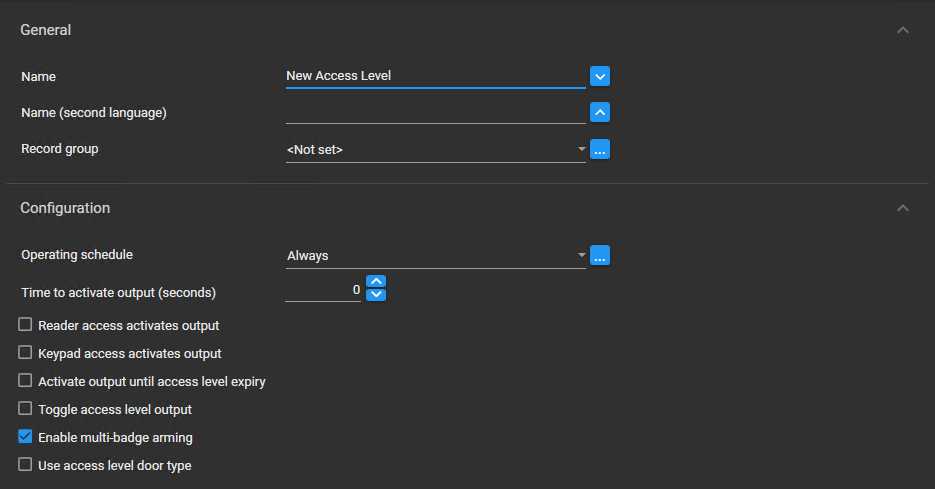
To add a new Access Level, click on the + sign on the top menu.

-
Fill in the General properties of your new Access Level such as Name and options. Check with Pacificom for particular options that may be programmed for specific functions for your site and whether you will need to enable/disable any of the options.
-
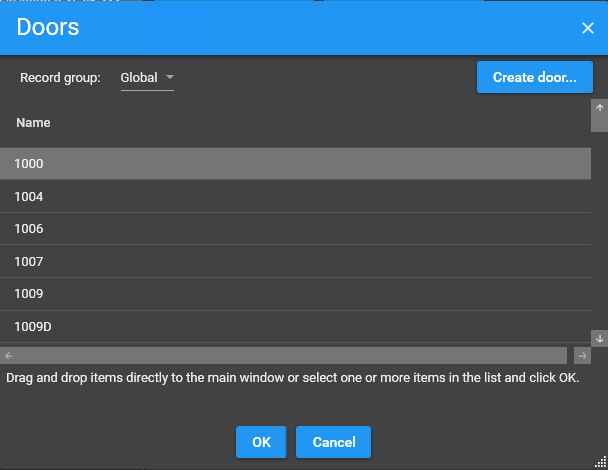
To add Doors to the Access Level, click on the Doors link on the Access Levels submenu.

-
Click Add on the right side of the screen to bring up the site's door list to add doors to this access level.
-
When done, click OK on the doors list and then the Save (Disk) icon at the top menu.

¶ User Management
-
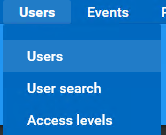
To add or edit your users, click on the Users dropdown menu at the top of the screen, then select Users
-
To add a new user, click the + sign icon at the secondary top menu.
-
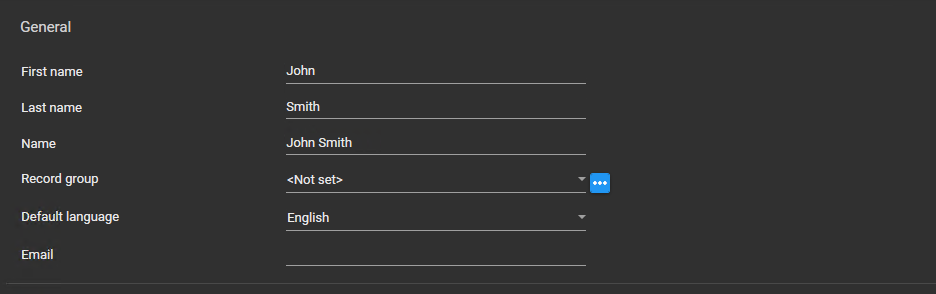
On the right hand side of the page, a new blank user info screen will appear. You can fill in the details such as First and Last name.
-
Below you can create a unique 4-6 digit PIN code for the user; these PIN codes can only be used if you have combination Keypad/Card Reader devices installed at your site.

-
Third option on the general user setting page is to enter in the fob/card unique identifier. This is a combination of both a Facility Code and Card ID. You can have up to Eight (8) unique cards per user. The unique Card ID is printed on the back of each card. The facility code is typically printed on the packaging in which the cards came in.
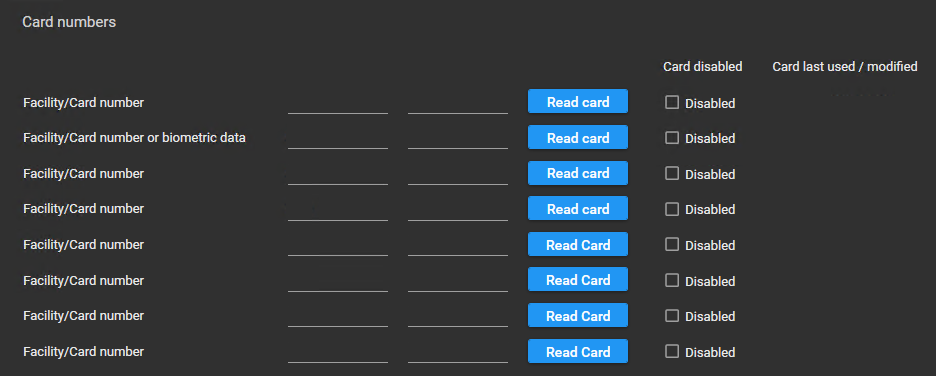
For clickers/garage gate transmitters, your building will need to be equiped with a garage gate receiver and programmed in order to use this feature.
The facility code is the first three digits, followed by the card number which is the last five digits.
-
You can also set when this user becomes active or expires, if it is a temporary user.

-
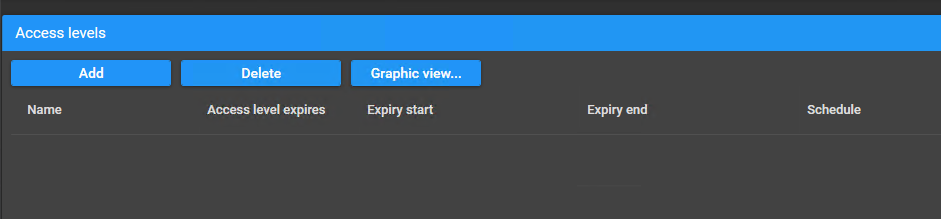
Next you will need to assign an Access Level to this user. At the top of the Users page, click on Access Levels.

-
On the right hand side of the screen, you can add (or delete) access levels for the user. Click Add to assign a new Access Level to this user.
-
Pick the Access Level you want for this user, then click OK.
-
Finally, save the user configuration you just created by clicking the Disk icon on the top menu.
¶ View Live Events
Select Monitoring -> Status Page View

From the Status page drop-down menu, Select "Live Events".
¶ Updating Door Schedule
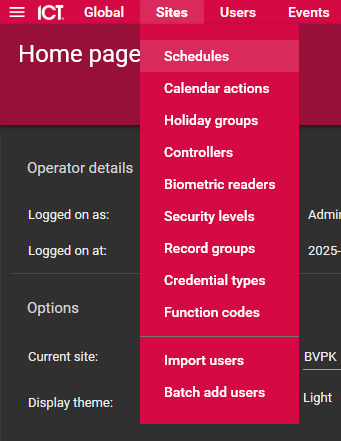
From anywhere in the ICT GX software hover over the "Sites" drop down menu and click on scheduals
In the schedules sections you can add/delete and change shedules.
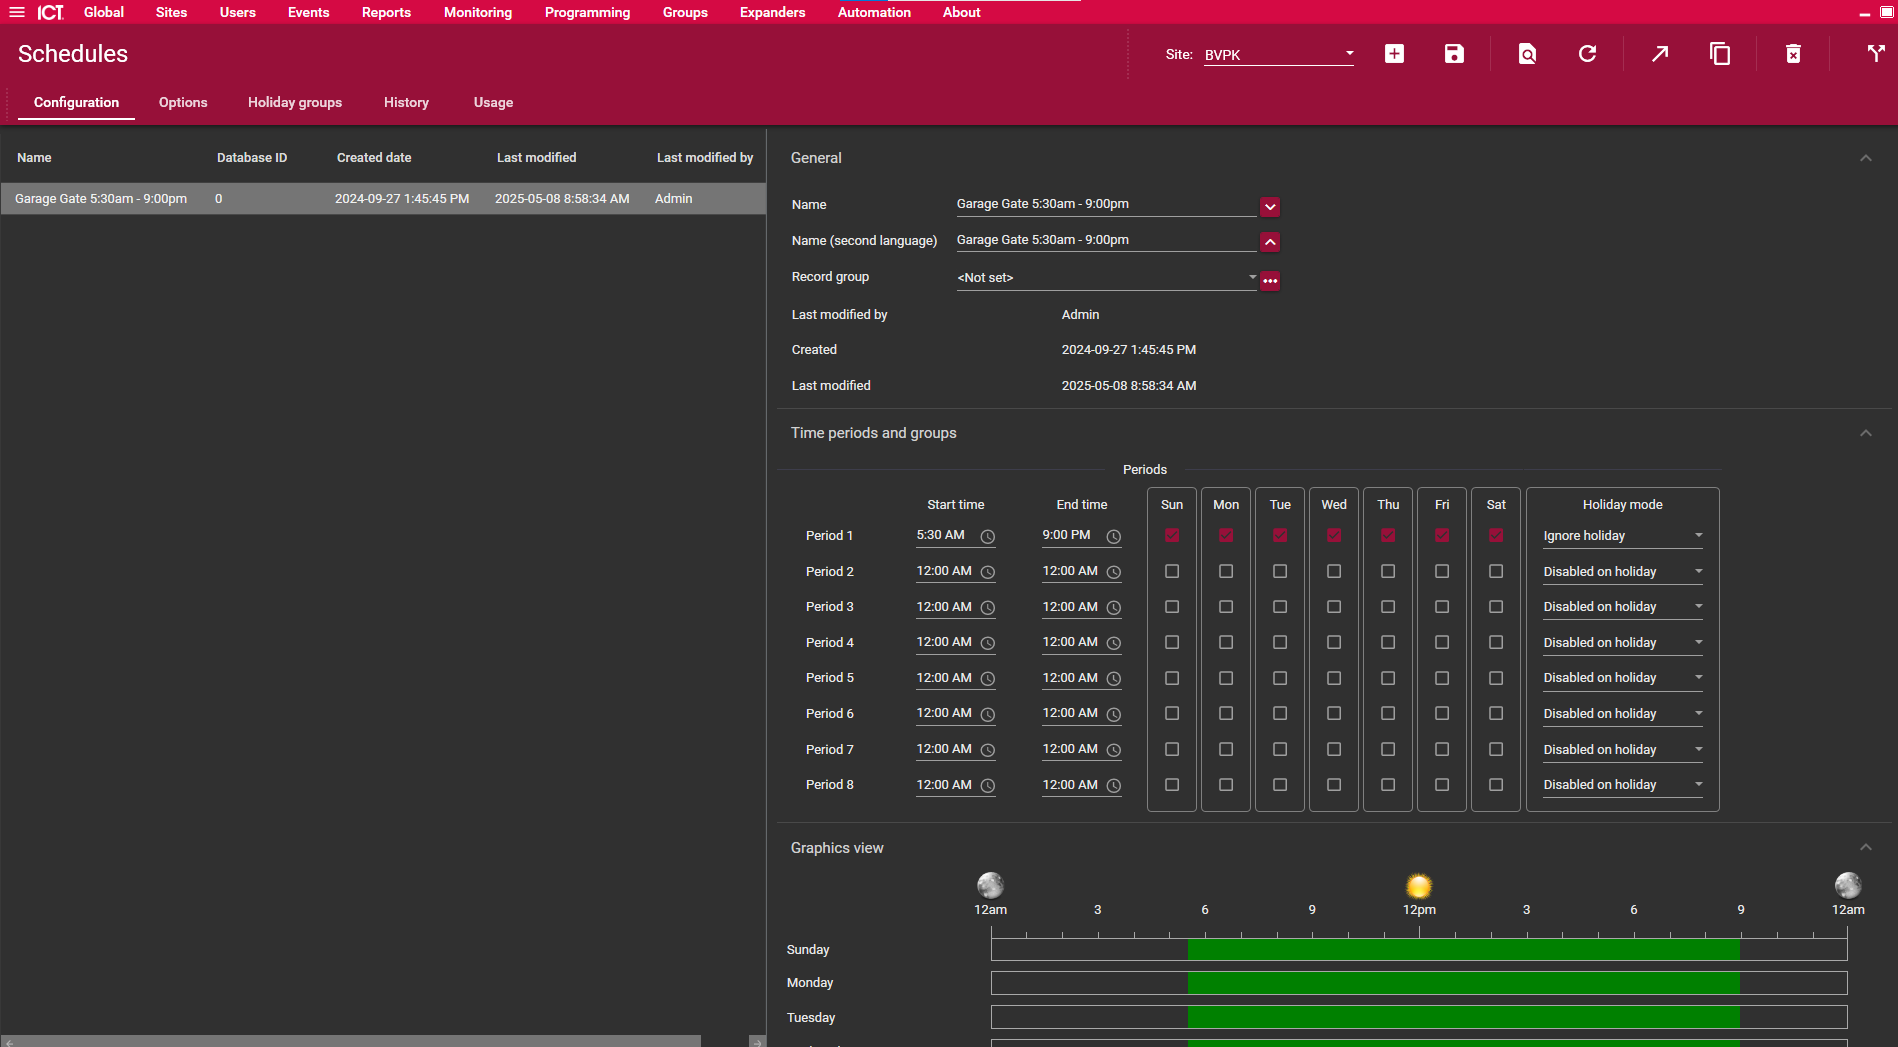
To apply the shedule hover on "Programming" then click on "Doors". Click on the desired door that you would like to apply the schedule to. Under "Setup" see "Unlock Schedule" click on the drop down menu and select the desired schedule aftwards click on the Floppy Disk in the top right hand side of teh screen to save the changes.
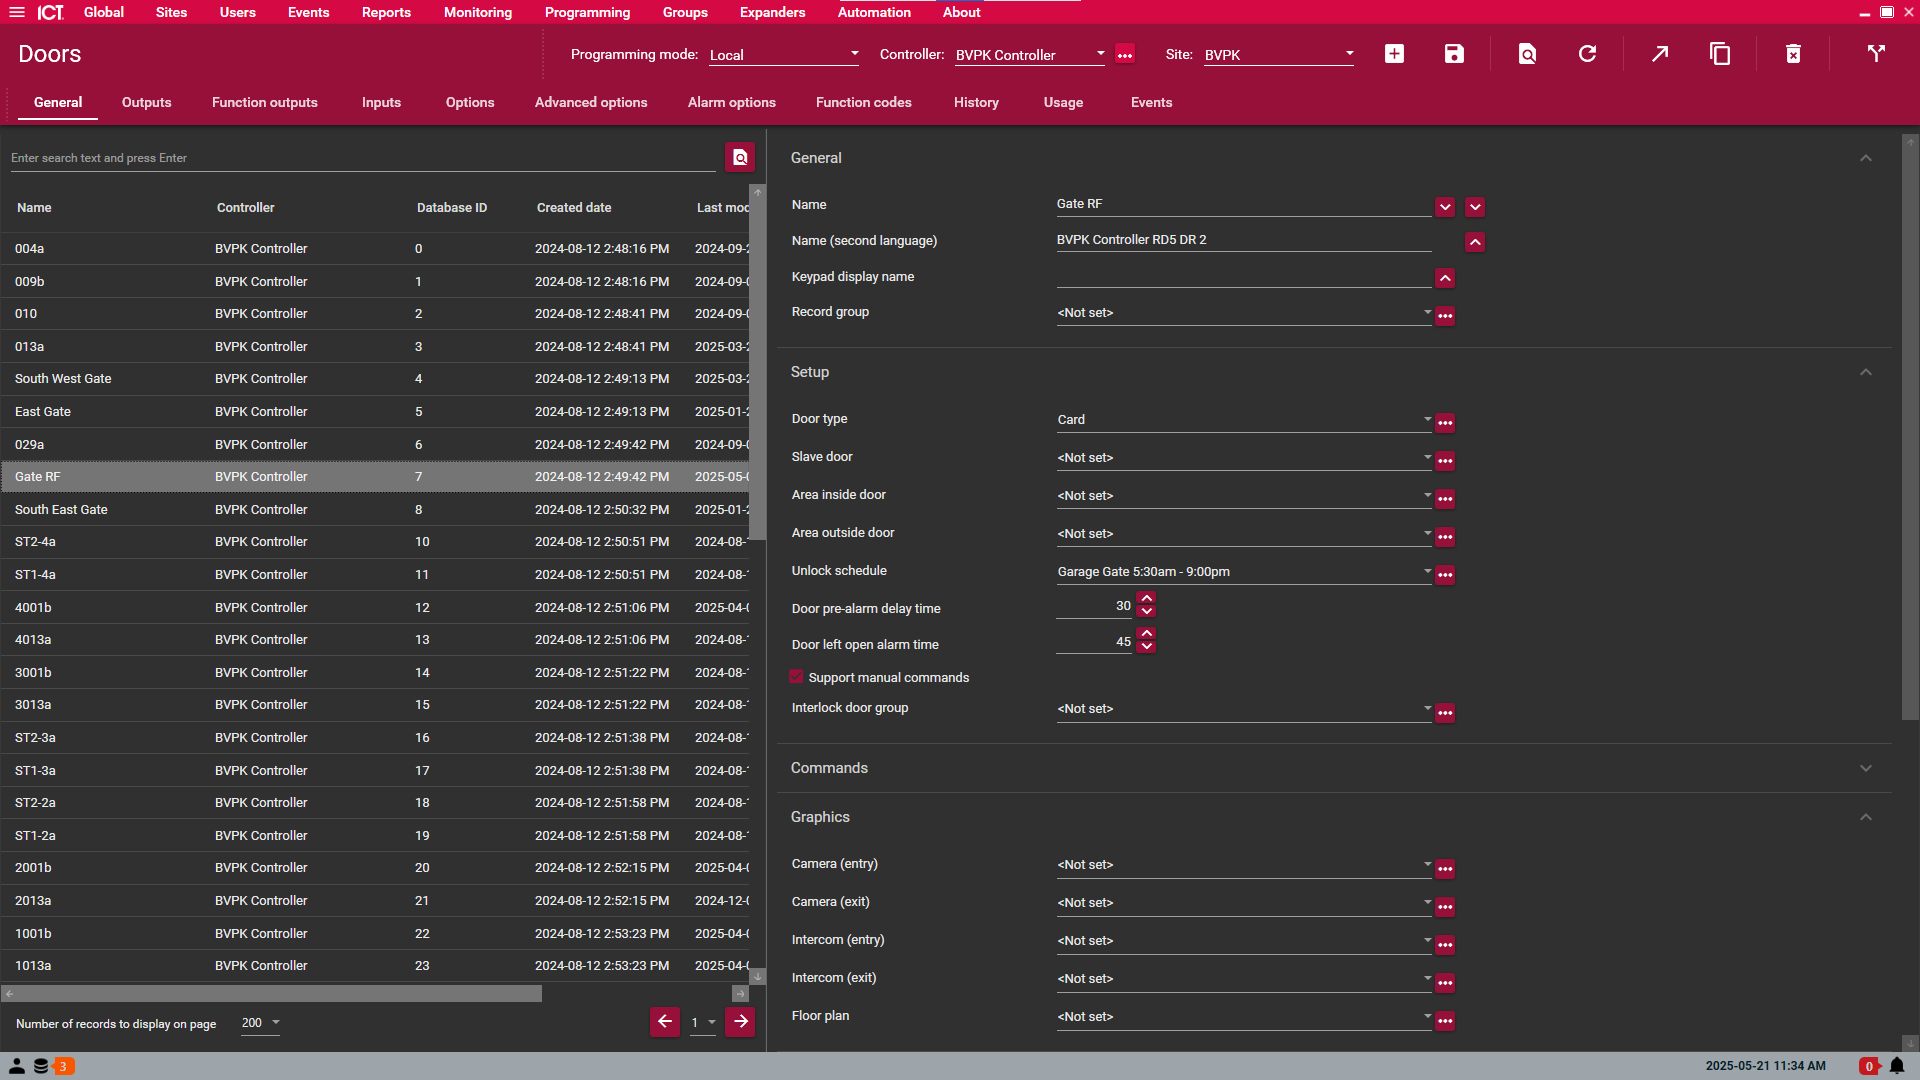
Once done hover over "Sites" click on "Controllers" and right click on the desired controller. Click on "Update modules" (this will force the ICT Module data to grab the latest config from the server). After a handful of minutes the schdules should be applied.
¶ Typical ICT Panel Set-up
¶ Set-up
Your site may be have slight variation from the typical ICT panel set-up as it is based on the space available in the security/communication room.
¶ LED Indicators
¶ Module
¶ Card Reader / Keypad
No LED - Not Powered
Blue - Powered
Red - Credentials Rejected
Green - Credentials Accepted
¶ Troubleshooting
¶ Updating an Expander Module
There's typically two card readers connected to one reader expander module. Review "Reader 1" and "Reader 2" to see which card readers are asssociated to the reader expander module
- Select Expanders -> Reader expanders
- Right-click on the reader expander
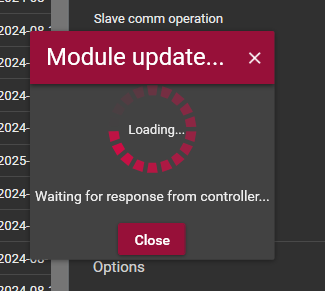
- Click "Update module"
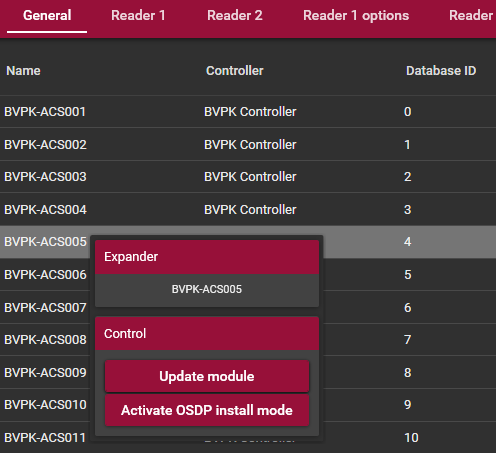
- Wait for module to update
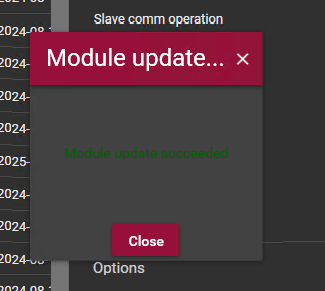
- Module update suceeded. Click "Close"
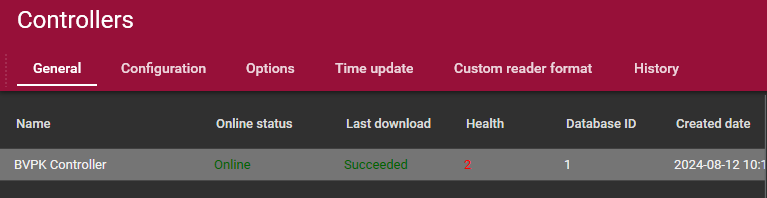
¶ Updating the Controller Module
-
Select Sites -> Controller

-
Right click on the controller
-
Select update modules. This will update the controller plus all the modules connected to it.
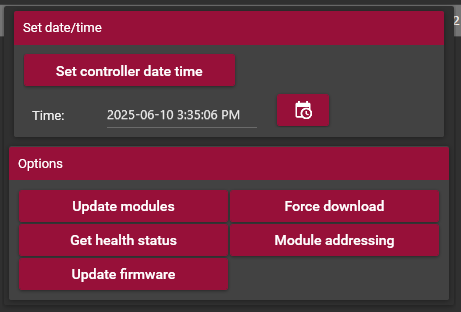
It may take a few minutes for all the modules to fully update.
¶ Card Reader is not Reading
- Ensure the user has the correct access levels
Present the card on a closed card reader, then log in to protege gx client and click monitoring -> Status page view -> then select Live events
Find the user and card number to view the error. If not, move on to the next two steps:
- Restart the RDM2/expander module the card reader is connected to
- Power off the card reader for 20 seconds, then power the card reader back up
¶ Card Reader / Keypad Flashing Green-Blue
- Ensure the user has the correct access levels
Present the card on a closed card reader, then log in to protege gx client and click monitoring -> Status page view -> then select Live events
Find the user and card number to view the error. If not, move on to the next two steps:
- Restart the RDM2/expander module the card reader is connected to
- Power off the card reader for 20 seconds, then power the card reader back up
¶ Facility Code Identification
-
The facility code is the first three digits of a fob, followed by a hyphen or colon, then a five digit card number.
-
If you don't know the facility number of the card, you may present the card on a closed card reader, then log in to protege gx client and click monitoring -> Status page view -> then select Live events
-
Then you will find events like:
.png)
-
which 104 is the facility number for this card.