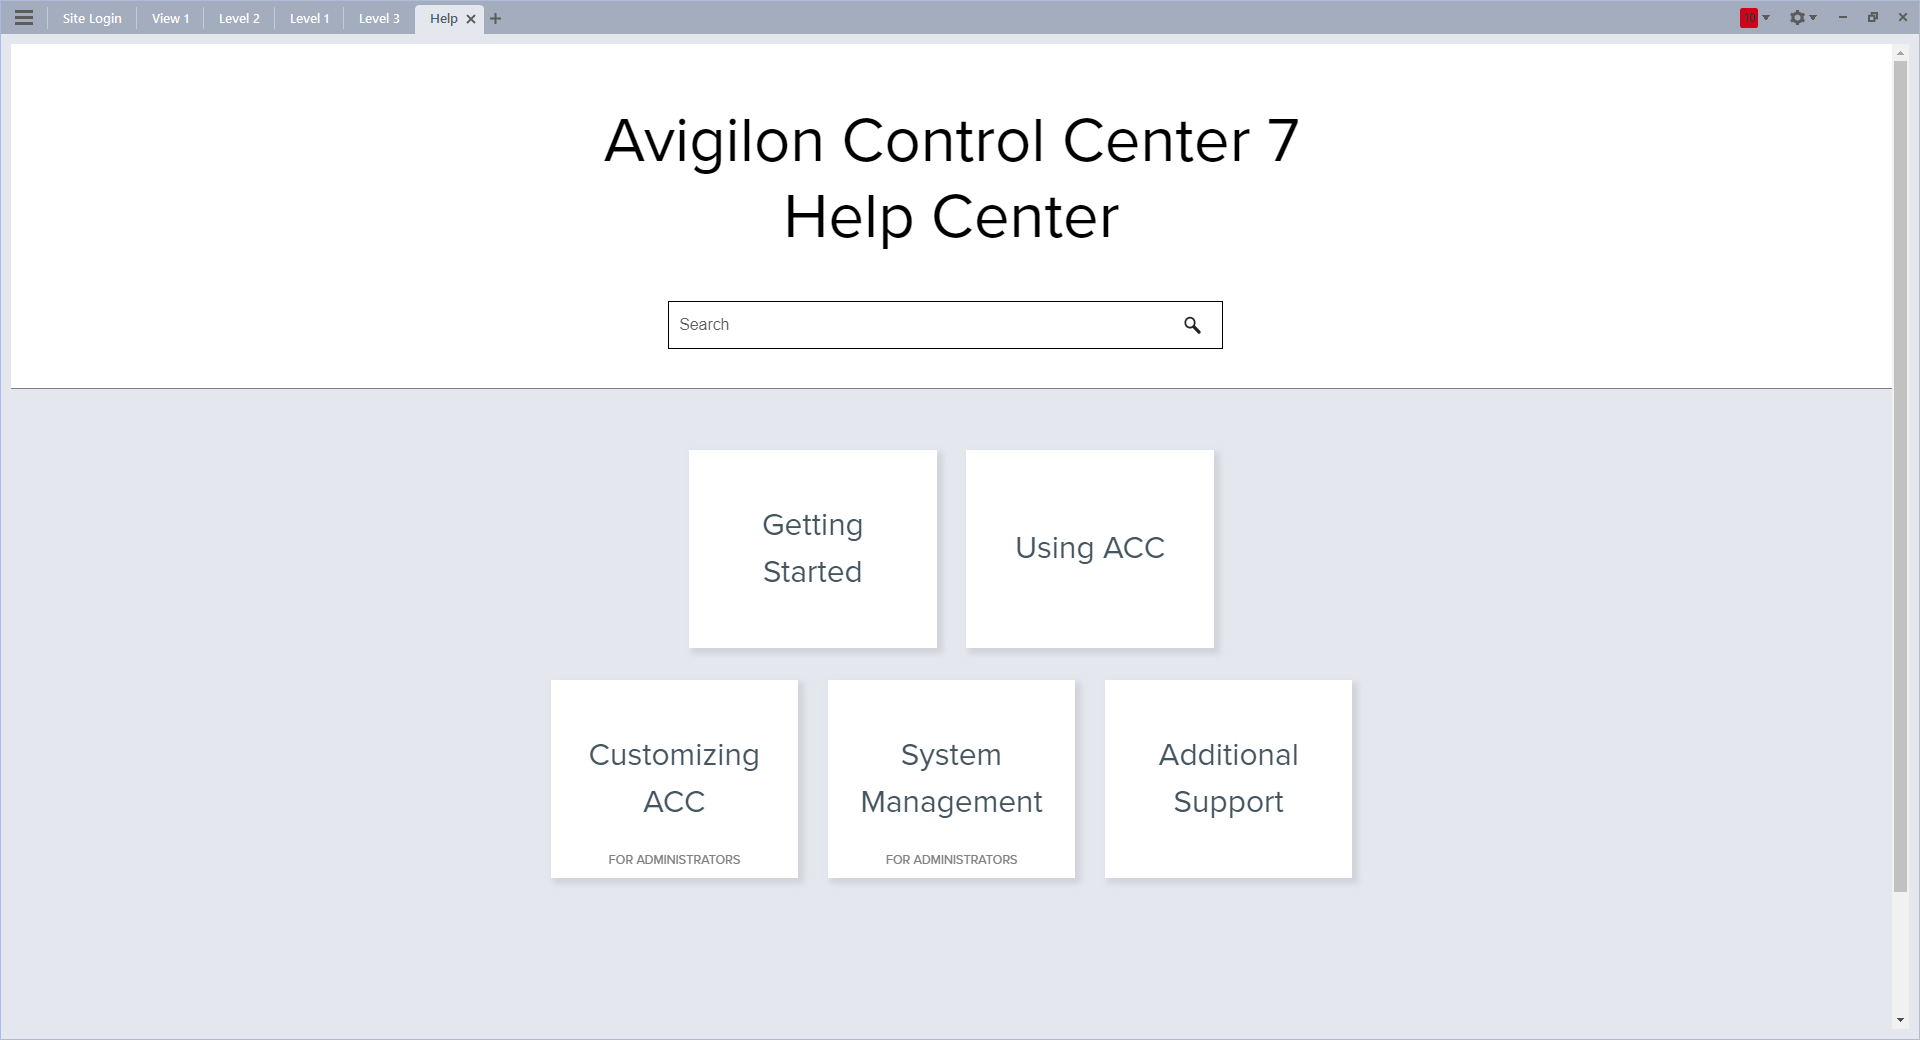
¶ Support
For troubleshooting and support press "F1" in the Avigilon Client to access the advance help menu.
¶ Desktop Software
ACC7 Client (Windows): LINK
¶ Mobile App
iOS (iPhone): Link to PDF
Android: Link to PDF
¶ Client Downloads
Download ACC7 (v.7.14.38.8) Client here: LINK
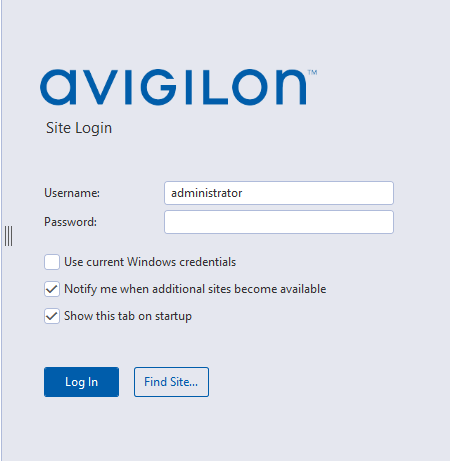
¶ Login
Each site will have unique login credentials created. Please check with your site-specific Quick Reference Guides provided to you by Pacificom to see login credentials and IP addressess to access your Avigilon ACC system.
¶ Main Page
Once logged in, the main page will be presented.
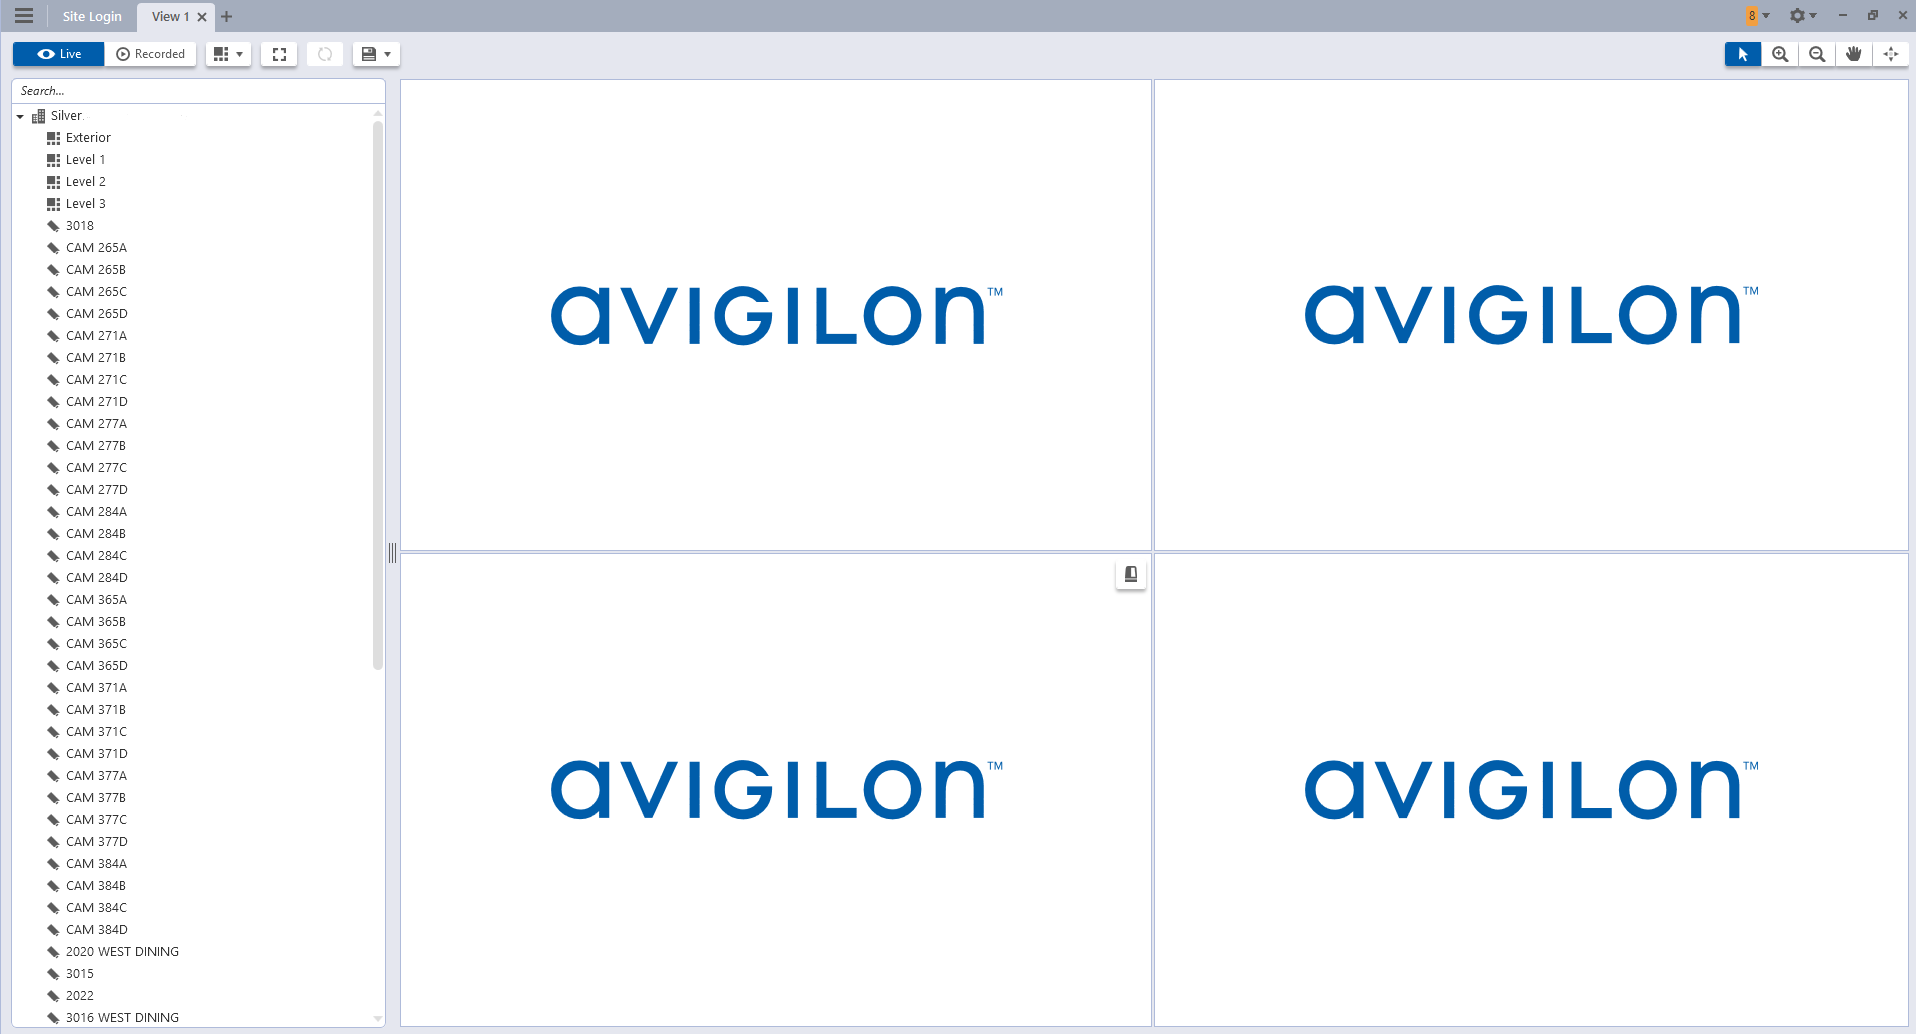
The left column will list the site , camera views and cameras asscociated with the site.
 Site: View the site selected.
 View: View a group of camera pertaining the view.
 Camera: View list of cameras.
 Live: View live video stream of camera(s)
Note: Some features are only available if the site has the required license, and if you have the required user permissions.
 Recorded: View Recorded video footage of camera(s) or view selected.
 View Edit: Edit View layout
 Fullscreen: Removes the left column to provide a full screen view of the view layout.
 Cycle View: If you have multiple View tabs open, you can cycle through them by displaying each one a few seconds at a time.
 Save: Saves a new or edited view layout.
 Cursor:
 Zoom In: Adjust so that the image seems to be bigger and closer
![]() Zoom Out: Adjust so that the image seems to be smaller and farther
Zoom Out: Adjust so that the image seems to be smaller and farther
 Pan: Drag inside an image panel to view desired section of the image
 PTZ: Pan, tilt and zoom. For PTZ cameras only.
¶ View
¶ View Layout
Customize the number and shape of image panels in your View by editing the View Layout.
In the toolbar, click .
Select a configured layout or click Edit Layouts to create a custom configuration.
If you are creating a custom configuration, select a layout and enter the number of columns and rows.
Tip: Click on the dotted or red borders to increase or decrease the size of an image panel. Up to 64 cameras can fit in a View.
Click OK to save.
¶ Saving Views
FOR STANDARD AND ENTERPRISE EDITION
Tip: For Core edition, in the top-right corner, select
> Client Settings > Save/restore window layout. The system will remember your layout preferences after closing and opening the ACC Client, as long as you keep the tabs open.
After you've customized a View, you can save and share it with users across your site. Saved Views appear in the System Explorer.
¶ Saving a View
- In the toolbar, click
 > Save As New View.
 - Select the site you'll add the view to, assign a name, and then add a unique number as the Logical ID to mark the view in your site.
Tip: Click
to choose where to display the View in the System Explorer.
- Click OK to save your view.
¶ Editing a Saved View
- Open a saved View.
- Make any required changes to the View tab.
- In the toolbar, select > Update Saved View.
¶ Renaming a View
- In the System Explorer, right-click and select Edit or Delete.
- Update the Name or Logical ID.
- Click OK to update the View.
¶ Deleting a Saved View
- In the System Explorer, right-click and select **Delete.**1.
- In the confirmation dialog box, click Yes.
¶ Adding and Removing Views
In the ACC Client software, you'll use Views to monitor video. Each View is its own tab and can display multiple different cameras.
- Click
 to add another View.
 - To close a view, click .
For more information, see Adding and Removing Cameras.
¶ Maximizing Views
In the toolbar, click  to maximize the View. Click
  to return to the previous size.
¶ Adding and Removing Cameras
At any point in time, you can add and remove cameras to your View using your System Explorer.
Click and drag a camera from the System Explorer to an empty image panel in the View tab.
Tip: You can view the same camera in multiple image panels to maintain different zoom levels.
To remove the camera, in the top-right corner of the image panel click  .
.
¶ Maximizing Image Panels
In the top-right corner of the image panel, click to maximize the video. Click to return to the previous size.
¶ Adding Content to Export
As you investigate video, you can queue content that you want to export.
Search Results and Bookmarks — Click Export this event.
Timeline — Right-click the Timeline and select Add Export.
Snapshot — In an image panel, click  .
.
A notification confirms that the file was added to the list.
Continue working or click the link in the notification to open the Export tab. Each export file is displayed in the order it was added.
Note: Only snapshots of recorded video are added to the Export tab. Snapshots of live video are exported individually in Live Snapshot tabs.
You can also add content directly in the Export tab:
-
In the New Task menu
 , click Export.
 -
Click Add and select the type of file you want to export:
Video — Export as Avigilon Player (AVE video), AVI video, or MP4 video. The Avigilon Player format requires the Avigilon Player software, which lets users view recorded video with Timeline controls and search capabilities. -
Image — Export as a JPEG, TIFF, or PNG file.
-
Audio — Export as a WAV file.
-
Document — Export as a PDF file with notes or send a file directly to your printer.
-
Video History — Export content from live video you viewed.
-
Update the export options. For more information, see Export Options.
¶ Combining Export Files
Export files can contain several clips and images from your investigation.
- To combine files, drag and drop. Expand and collapse the file to show and hide its clips.
- To add a clip to a file, click .
- To remove a clip from file, click .
- To rename a file, double-click its name and enter a new name. Click outside the field to save.
¶ Exporting Video Quickly
To quickly export a snapshot or a clip while viewing video:
- Right-click the View or the Timeline and select Quick Export. The Quick Export dialog opens. quick
- In the Time Range for Export section, configure the From:, To:, and Duration: fields as required.
- Select the required File Type.
- Click Export and save the video file.
You can continue to work while the video is being exported.
¶ Exporting Video History
You can export clips of video that was viewed live.
- In the New Task menu , click Export.
- Click Add > Video History.
- Select the cameras and enter a date range to search.
- Click Search.

- A list of devices viewed is displayed. - View Time — When the video was viewed.
- Video Start Time and Video End Time — The clip length.
- Device — The camera viewed.
- Workstation — The workstation that viewed the video.
-
Select the clip you want to export. Use the Ctrl and Shift keys to select multiple clips.
-
Click Add to Export. Note: An Avigilon Player AVE file is added to your Export list. Expand the file to view and edit the selected clips.
-
Select the ACC export file and change the Format to AVI Video
-
Make sure Timestamp, Device name, Device location, Video analytics activity is selected and select export.
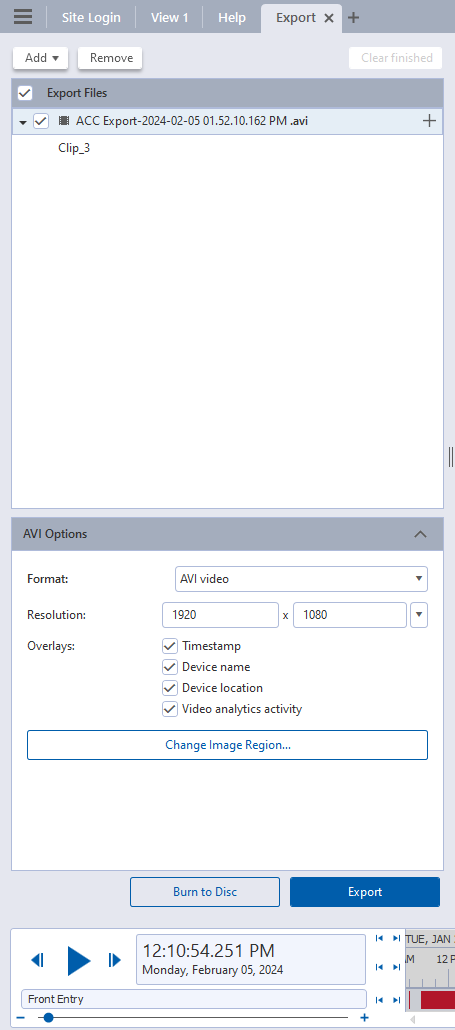
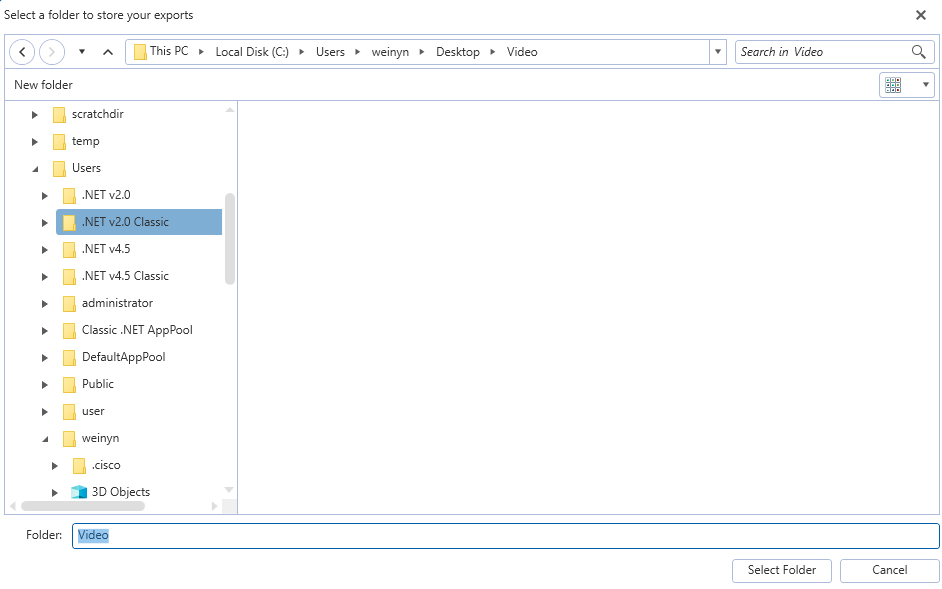
Choose a location to store the export file(s) and click Select Folder.
¶ Advanced
Press "F1" to access the advance help menu.
¶ Troubleshooting
.
.